How to Add Citations in Google Docs A Pro Guide
Writing an academic paper isn't just about sharing your ideas; it's about building on the work of others and giving them proper credit. Thankfully, the days of wrestling with manual formatting for every single reference are behind us. Google Docs has a surprisingly handy built-in citation tool that takes most of the grunt work out of the process.
You'll find it right in the main menu under Tools > Citations. Just pick your format—like APA, MLA, or Chicago—plug in your source details, and you can drop a perfectly formatted citation right into your text with a single click.
A Quick Guide to Citing Sources in Google Docs
If you've ever felt the pain of creating a bibliography by hand, you'll appreciate how much this tool simplifies things. Once you open the citation feature from the 'Tools' menu, a sidebar pops up. This little sidebar is your new best friend for referencing.
It stays open as you work, so you can add sources on the fly without breaking your writing rhythm. You can see just how straightforward it is in this video guide for the Google Docs citation tool on YouTube.
Google Docs Citation Tool at a Glance
The tool is designed to be intuitive, breaking the process down into simple, logical actions. You choose your style, add your sources, and then insert citations as you need them.
Here's a quick breakdown of where everything is and what it does, which can be a real time-saver.
| Feature | Location | Primary Use |
|---|---|---|
| Citation Styles | Tools > Citations | Select from MLA, APA, Chicago, etc. |
| Add Source | Citations Sidebar | Manually or automatically add new sources. |
| Cite In-text | Citations Sidebar (Hover over source) | Insert formatted in-text citations. |
| Insert Bibliography | Citations Sidebar (Bottom) | Generate a complete works cited list. |
This clear separation of tasks is great for avoiding those tiny formatting errors that can be so easy to make, ensuring your paper looks consistent and professional. Speaking of academic efficiency, exploring other essential apps for college students can really help you get more done with less stress.
The real power of the Google Docs citation tool is its ability to keep you focused. Instead of toggling between tabs to format a reference, you can add a source and insert the citation in under a minute without ever leaving your document.
This is a game-changer when you're juggling a dozen sources under a tight deadline. By taking care of the tedious formatting, the tool frees you up to concentrate on what actually matters: your research and writing. It's a simple, effective way to maintain academic integrity and produce a polished paper with a lot less friction.
A Practical Walkthrough With the Built-In Citation Tool
Let's put the theory into practice. Imagine you're drafting a research paper on the impacts of climate change. You've got a few key sources you need to reference: a peer-reviewed journal article, a specific chapter from a book, and a report from a government website.
First thing's first: open the citation tool. You’ll find it tucked away under Tools > Citations. This opens a sidebar that will become your new best friend. Before you do anything else, check the dropdown menu at the top. For this example, we’ll make sure it's set to APA 7th edition, but you could just as easily pick MLA or Chicago.
Adding Your Sources with Precision
With your style set, it's time to start logging your sources. Click the big + Add citation source button. This is where you tell Google Docs what kind of source you're working with.
- The Journal Article: Select 'Journal article' and how you accessed it, like 'Online database'. You'll get a form to fill in the details—author, title, journal name, volume, issue, and page numbers. It pays to be precise here; getting it right now saves you a lot of trouble later.
- The Book Chapter: This time, choose 'Book section'. The fields will change, asking for the chapter's author and title, as well as the book's title, editor, and publisher.
- The Government Website: Pick 'Website' as your source type. Here’s a great shortcut: use the Search with a URL feature. Just paste the link to the government report, and Google Docs will do its best to find the title, publisher, and date for you. It's a real time-saver.
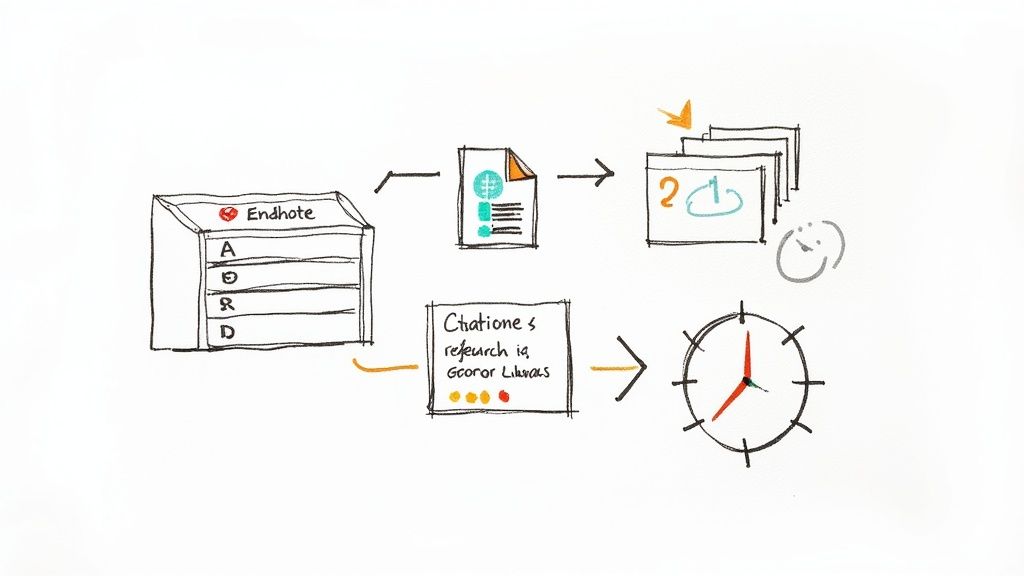
This visual guide shows just how straightforward adding citations in Google Docs can be.
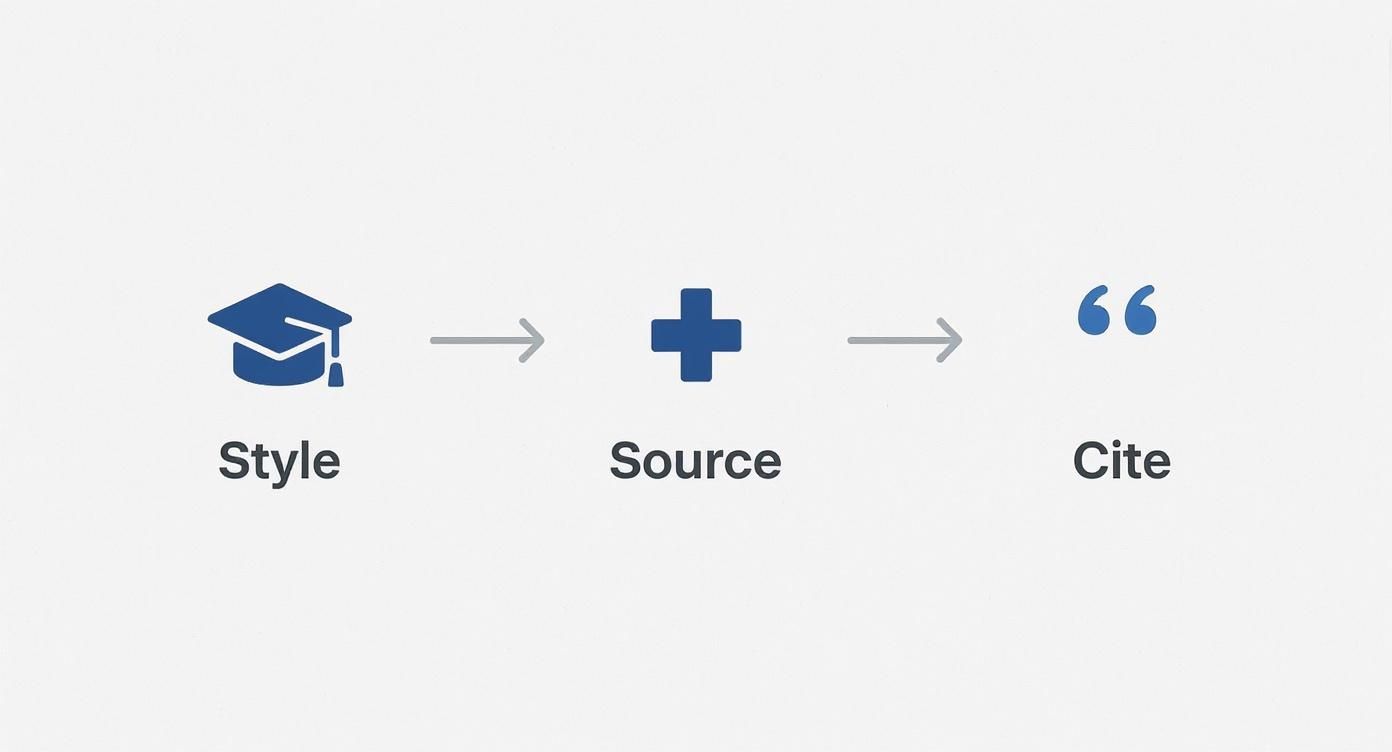
As you can see, it really boils down to three simple stages: pick your style, add your source, and then pop the citation into your text right where you need it.
Inserting In-Text Citations Seamlessly
Once you’ve added your sources to the sidebar, the rest is easy. Put your cursor exactly where you want the citation to go in your paragraph. Now, just hover over the source you need in the sidebar, and a Cite button will appear. Click it.
Presto! A perfectly formatted in-text citation, like
(Author, 2023), appears in your text. The best part is that it’s dynamic. If you spot a typo in the author's name and fix it in the sidebar, every single citation for that source updates automatically.
This feature alone is a lifesaver, especially when you're deep into revisions. It keeps everything consistent and lets you focus on your writing, turning what used to be a tedious chore into a smooth, integrated step.
Supercharge Your Workflow with Citation Add-Ons
Google's built-in citation tool is a fantastic starting point for essays and shorter papers. But when you're tackling something massive—think a dissertation, a book, or a multi-year research grant—you'll quickly hit its limits. When you’re juggling hundreds of sources, a dedicated citation manager isn't just a nice-to-have; it's an absolute necessity for keeping your work accurate and your sanity intact.
These add-ons completely change the game. They sync an external, centralized library of all your sources directly into your Google Doc. This means every article, book, or paper you've ever collected is right there, ready to go, creating a single source of truth for your entire body of academic work.
The Power of a Centralized Library
Picture this: you're deep into writing your thesis and suddenly need to cite a paper you vaguely remember from a class assignment two years ago. Instead of spending an hour digging through old folders and re-finding the source details, a tool like Zotero or EndNote lets you pull it up in seconds.
The real magic happens with integrations that connect that library to your document. A huge leap forward came in August 2023 when EndNote 21 finally rolled out its Google Docs integration, bringing the powerful "Cite While You Write" feature that academics have relied on for years. You can see how this EndNote update works on the University of Delaware's library guide.
For any serious researcher, this kind of direct connection is a total game-changer.
Pro Tip: Start building your reference library in a dedicated manager from day one of your academic journey. You'll create a priceless, searchable database of your entire research history that becomes more valuable with every project you complete.
Why Make the Switch to an Add-On?
The moment you start working on a complex project, the benefits of a dedicated add-on become crystal clear.
- Vast Style Libraries: These tools offer thousands of citation styles, covering everything from major formats like APA and Chicago to the hyper-specific requirements of niche journals.
- Consistency Across Documents: You can pull from the exact same source library for your dissertation, a journal article, and a conference proposal, guaranteeing every citation is formatted identically everywhere.
- Advanced Organization: Go way beyond a simple list. You can organize sources with custom tags, group them into project-specific folders, and attach your own research notes directly to the citation.
Picking the right manager is a core part of building an efficient academic workflow. To get a better handle on the landscape, check out our guide on different types of literature management software.
Ultimately, investing the time to adopt a powerful add-on pays off enormously, saving you countless hours and preventing stressful, last-minute formatting errors on your most important work.
How to Cite Non-Standard and Dynamic Sources
Academic research has moved far beyond just books and journals. Today, you might need to cite a YouTube video, a social media post, or even a live data dashboard. The tricky part with these dynamic sources is that their content can change or even disappear entirely.
So, how do you handle these modern references? The secret is to capture the source exactly as it was when you viewed it. This is where the retrieval date becomes your best friend. It acts as a timestamp, letting your readers know that the content might look different if they visit the link a year from now. You'll encounter all sorts of these modern references, which fall under different types of primary source materials.
Handling Continuously Updated Data
Let's take a real-world example: citing data from Google Trends. This data is always in flux, so there’s no single, static publication date. Luckily, citation styles like APA have a clear protocol for this.
For a source like this, you’ll use “n.d.” (meaning "no date") where you would normally put the year. The crucial next step is to add a retrieval date to pinpoint when you collected the information.
An in-text citation might look like this: ‘Interest in renewable energy peaked in mid-2023 (Google Trends, n.d.).’ This simple method keeps your citation both accurate and honest.
A good rule of thumb for any online source without a clear publication date is to ask, "Could this content change tomorrow?" If the answer is yes, including a retrieval date is non-negotiable for maintaining academic integrity.
A Framework for Other Modern Sources
You can apply this same logic to just about any non-standard source. Whether it's a tweet, a TikTok video, or an interactive online report, the goal is always to give your reader a stable reference point.
- For a YouTube Video: The uploader's name is the author. Be sure to include the full upload date.
- For a Tweet: Use the person's name and their handle as the author, along with the exact date and time it was posted.
As research tools continue to evolve, you might even find yourself using AI to help gather information. Learning to write effective ChatGPT prompts for research is a great skill, but just remember you'll also need to know how to properly cite anything you discover through these platforms.
Generating and Perfecting Your Bibliography
After carefully placing all your in-text citations, you get to the best part: creating the bibliography. What used to be a painstaking, manual process is now practically effortless, thanks to Google's built-in tool.
You'll find the magic button right at the bottom of the Citations sidebar: Insert Bibliography. Just move your cursor to a fresh page at the end of your document, give that button a click, and watch as a perfectly formatted list of your sources materializes.
The tool even knows which heading to use. If you’ve been working in MLA, it will generate a "Works Cited" page. For APA, you'll get a "References" list. It’s that simple.
Double-Checking Your Final List
As reliable as this tool is, I always recommend giving the final list a quick once-over. It's a good habit to get into. Just scan it to make sure everything is alphabetized correctly and the formatting looks consistent across all entries. This final check is what separates a good paper from a great one.
Here’s where this feature truly shines: the bibliography is completely dynamic. Let's say you decide to remove a paragraph and its corresponding citation from your paper. The moment you delete that in-text citation, Google Docs automatically removes the source from your bibliography. No more orphan entries or manual cross-checking!
This kind of automation is precisely why working with a digital reference manager has become standard practice for serious writers and researchers. To dig deeper into this, you can explore the importance of a reference manager in more detail on our blog and see how it helps sidestep some of the most common citation mistakes.
A Few Common Questions About Citations in Google Docs
Even with a tool as intuitive as Google Docs, questions are bound to pop up, especially when you're staring down a deadline. I’ve seen the same handful of issues trip people up over the years, so let's clear the air on a few common points before they become a problem.
Can I Change My Citation Style Later?
This is probably the most frequent question I get, and the answer is a big, relieving "yes." Let’s say you’ve written half your paper in APA 7th edition, and your professor suddenly asks for MLA 9th. Don't panic.
Just open the Citations sidebar, click the dropdown menu at the top, and pick your new style. Google Docs will instantly reformat every single citation and your entire bibliography. It’s a genuine lifesaver.
Built-in Tool vs. Add-ons: What's the Difference?
It's easy to wonder why you might need anything more than what's already there. Google's native tool is fantastic—it’s simple, free, and perfectly integrated. For most essays and straightforward projects, it's all you need.
Dedicated add-ons like Zotero or EndNote are in a different league. They are full-blown reference managers. Think of them as a master library for all your research, one that you can use across different documents, programs, and even collaborate on. They offer far more obscure citation styles and advanced organization features for those massive, long-term projects.
How Do I Fix a Mistake in a Source?
You've just finished your draft and realize you misspelled an author's name or entered the wrong publication year. It happens to everyone.
The best part about the Google Docs citation tool is that no mistake is permanent, and fixing it is surprisingly easy. You don't have to hunt down every instance manually.
Here's how you correct it:
- Open the Citations sidebar and find the source you need to fix.
- Click the three-dot menu icon next to it and choose Edit.
- Make your corrections in the source editor and click Save Source.
Instantly, Google Docs updates that source everywhere it appears—in your in-text citations and in the final bibliography. This ensures your entire document stays accurate and consistent without any tedious find-and-replace headaches.
Ready to take your research management to the next level? Eagle Cite is an AI-powered tool designed to help students and researchers streamline how they manage literature. Start your free trial of Eagle Cite today and see how much faster you can find and organize your sources.